Setting up Okta for customer hosting CipherStash Token Service (CTS)
Okta is one of the options you can use as an identity provider for customer hosting.
Your identitiy provider is used by CTS to authenticate and authorize your engineering team.
Log in to your existing Okta account.
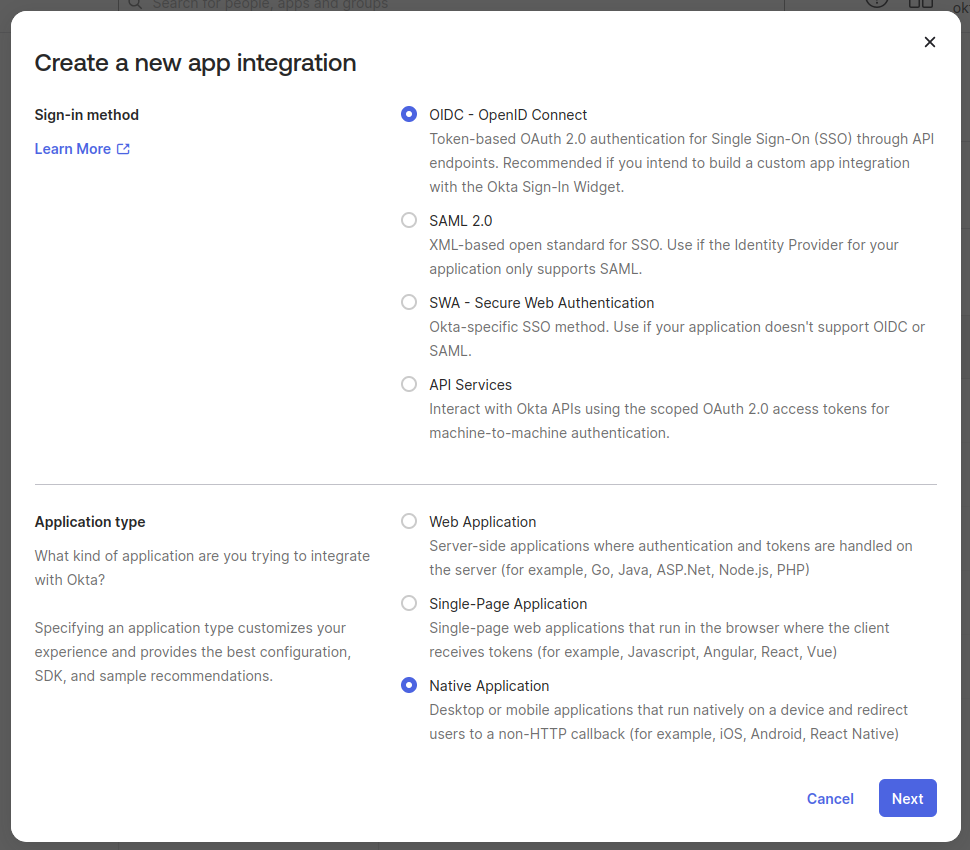
Select the Applications from the side menu and then select Create App Integration. Use the following settings:
- Sign-in method: OIDC
- Application type: Native
- Click next
- App integration name: CipherStash CLI
- Grant type: Refresh Token, Device Authorization
- Click save
Select the Security from the side menu and click on API. Click Add Authorization Server and then use the following settings:
- Name: CipherStash CTS
- Audience:
https://cts.<your CTS Route53 zone name>/- Example:
https://cts.demo-cipherstash.com/
- Example:
Click Create to create the new API.
Next click on the Scopes and click the Add Scope button. Use the following settings:
- Name:
cipherstash:admin - Display phrase: Admin access
- Description: Admin access to CTS resources
Click Create to create the permission.
Next click on Access Policies and click Add New Access Policy. Use the following settings:
- Name: CipherStash Admin
- Description: Allow CipherStash admin scope for CipherStash CLI
- Assign to: The following clients, CipherStash CLI
Click Create to create the policy.
Under the policy click on the Add rule button. Use the following settings:
- Rule name: CipherStash Admin
Click Create to create the rule.
After creating the application, set the following environment variables in the cli-workspace/.envrc file:
1# Tell CipherStash CLI to use Okta
2export CS_IDP_PROVIDER="okta"
3
4# Okta CipherStash CLI application Client ID
5export CS_IDP_CLIENT_ID="<your CipherStash CLI Okta application client ID>"
6
7# Okta IDP Host URL
8export CS_IDP_HOST="https://<Okta CipherStash CTS Issuer URI>/"Now that you've set up your identity provider, continue setting up your customer hosted infrastructure.