Setting up Auth0 for customer hosting CipherStash Token Service (CTS)
Auth0 is one of the options you can use as an identity provider for customer hosting.
Your identity provider is used by CTS to authenticate and authorize your engineering team.
Create an Auth0 account or log in to your existing account.
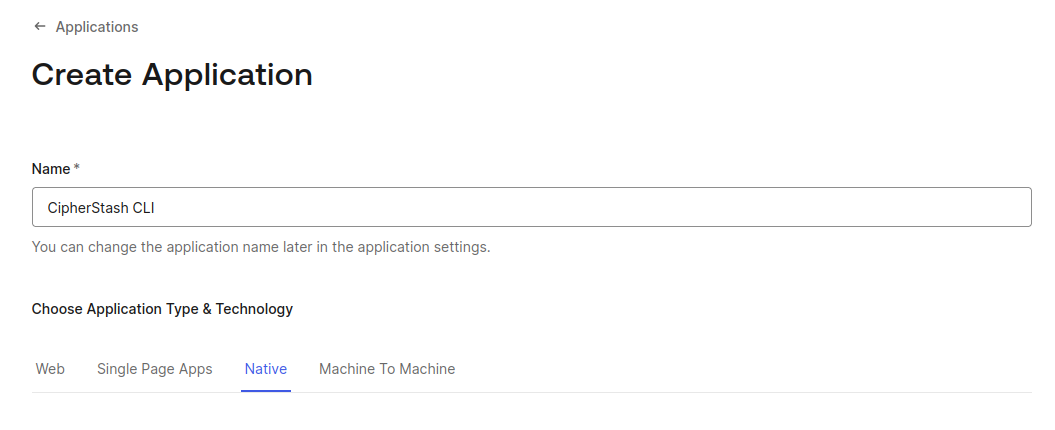
Select the Applications from the side menu and then select Create Application. Use the following settings:
- Name: CipherStash CLI
- Choose Application Type & Technology: Native
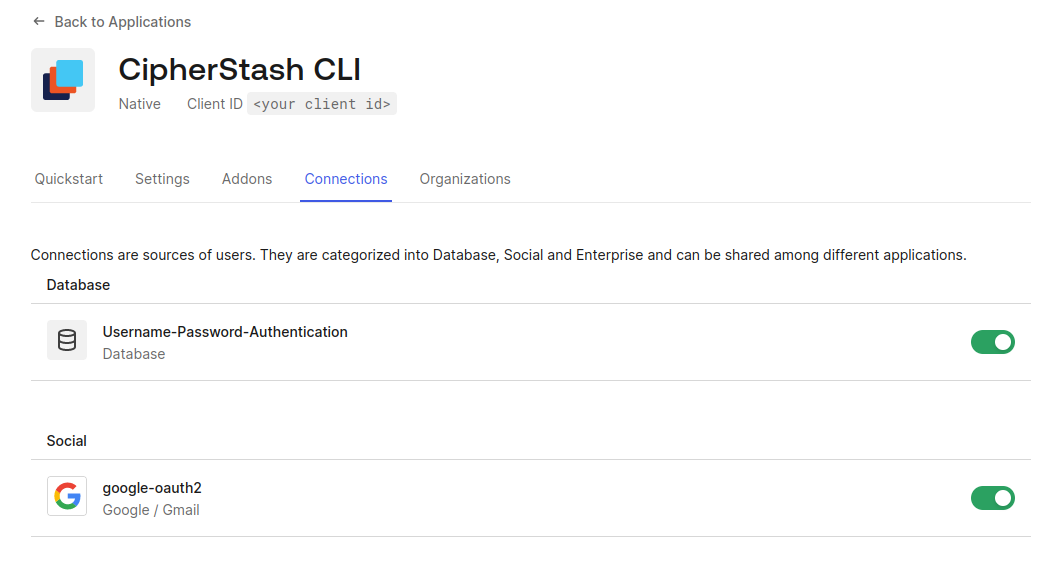
Decide how you want your developers to authenticate with CipherStash CLI under the Connections tab. By default this will be set to "Username-Password-Authentication" and/or "Google Social Connection" if you've enabled it for your Auth0 account.
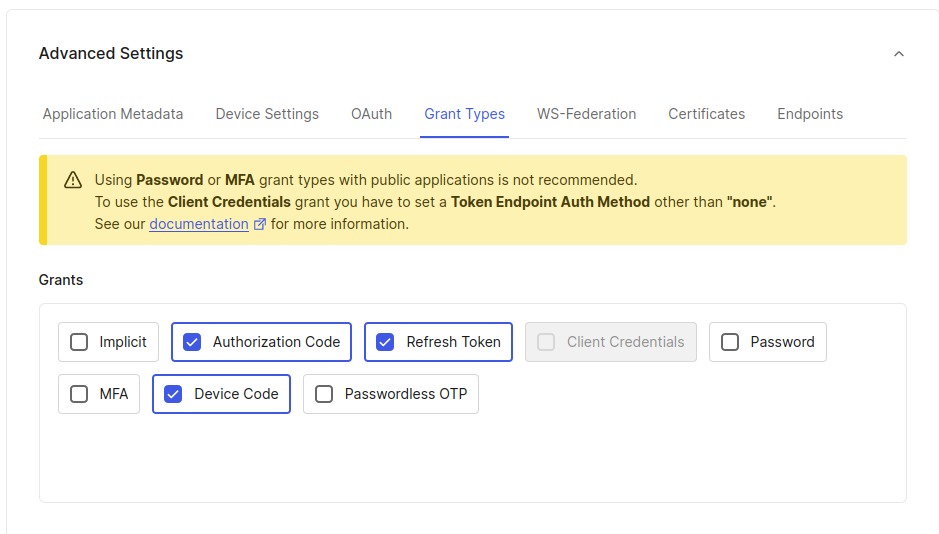
To authenticate from the CLI, follow these steps:
- Navigate to Settings, under Advanced settings at the bottom of the application page
- Select Grant Types and enable the
device codegrant. - Click "Save Changes".
After creating the application, set the following environment variables in the cli-workspace/.envrc file:
1# Auth0 CipherStash CLI application Client ID
2export CS_IDP_CLIENT_ID="<your CipherStash CLI Auth0 application client ID>"
3
4# Auth0 IDP Host URL
5export CS_IDP_HOST="https://<Auth0 CipherStash CLI application Domain>/"Select the Applications from the side menu and then select APIs. Click on the Create API button and use the following settings:
- Name: CipherStash CTS
- Identifier:
https://cts.<your CTS Route53 zone name>/- Example:
https://cts.demo-cipherstash.com/
- Example:
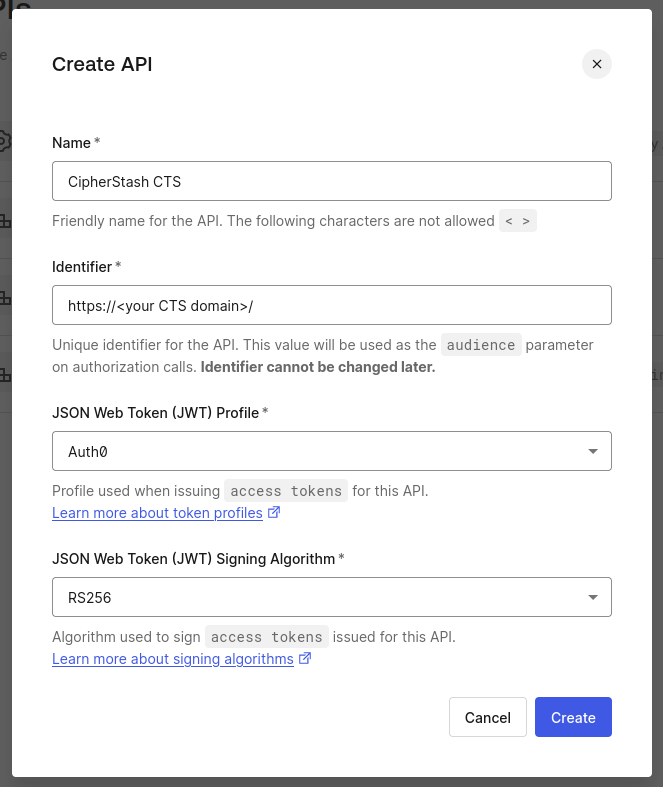
It's important that the API identifier contains the trailing slash. This is required by CDK and CipherStash CLI configuration.
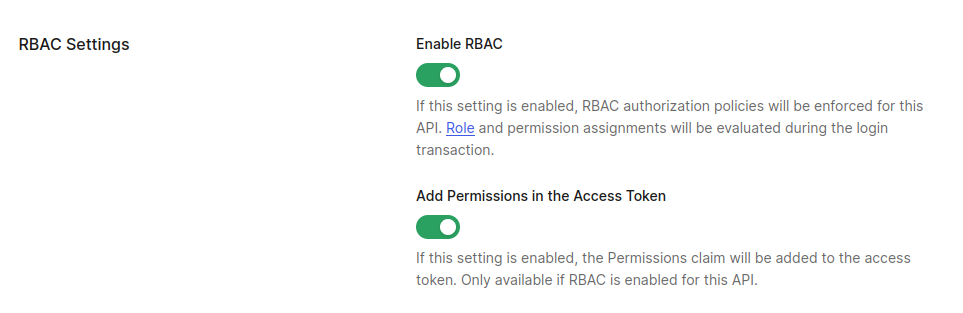
Follow the steps below to enable RBAC and offline access for the CipherStash CTS API.
- Select RBAC Settings
- Toggle on both Enable RBAC and Add Permissions in the Access Token
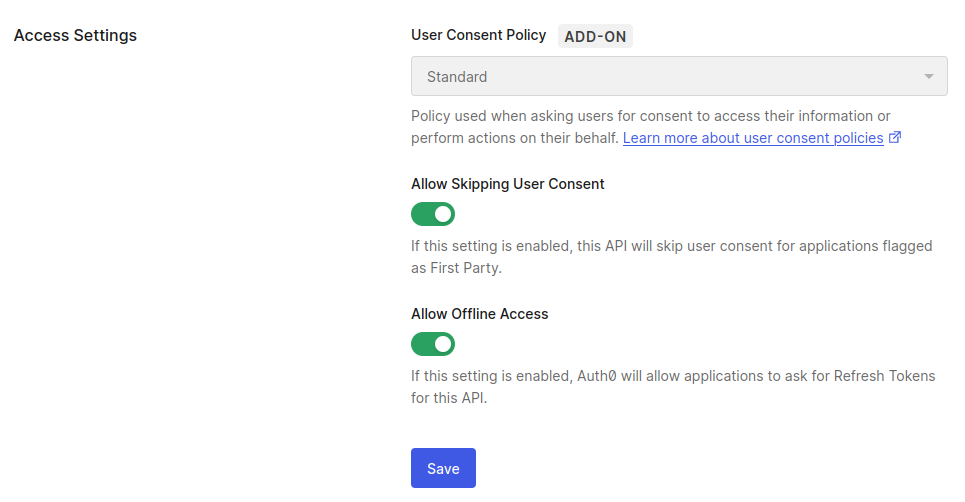
Follow the steps below to enable offline access for the CipherStash CTS API.
- Select Access Settings
- Toggle on Allow Offline Access
- Click "Save".
Follow the steps below to create a permission for the CipherStash CTS API.
- Select Permissions
- Click Add Permission
- Set the name to
cipherstash:admin - Set the description to
Admin access to CTS resources - Click Add

Now that you've set up your identity provider, continue setting up your customer hosted infrastructure.